[Server] Vercel에 JSON Server 배포
Heroku는 2022년 11월을 기준으로 유로로 변경되었기 때문에 무료로 서버를 배포할 플랫폼을 찾던중 Vercel를 알게되었다. JSON Server와 Vercel를 이용하면 간략한 서버를 구축 및 배포할 수 있다.
JSON Server
내부적으로 Low DB 라는 단순한 데이터베이스를 이용하며 최소한의 REST API를 기본 지원한다. 프로토타입을 만들거나 토이프로젝트를 만들때 유용하게 사용할 수 있다.
공식 홈페이지: json-server
Vercel
Next.js 개발 팀에서 만든 클라우트 플랫폼으로 빌드/배포/호스팅 서비스를 제공한다. GitHub 저장소와 연결하면 매번 Push를 진행할 때 마다 배포할 수 있다.
공식 홈페이지: Vercel
JSON Server 만들기
1. 프로젝트 생성
$ mkdir json-server-exam && cd json-server-exam
$ npm init -y
$ npm install json-server --save-dev
json-server-exam 디렉토리 생성 && 프로젝트 초기화를 한 뒤 JSON Server를 설치한다.
2. server.js 추가
const jsonServer = require('json-server')
const server = jsonServer.create()
const router = jsonServer.router('db.json')
const middlewares = jsonServer.defaults()

// Set default middlewares (logger, static, cors and no-cache)
server.use(middlewares)

// Add custom routes before JSON Server router
server.get('/echo', (req, res) => {
  res.jsonp(req.query)
})

// To handle POST, PUT and PATCH you need to use a body-parser
// You can use the one used by JSON Server
server.use(jsonServer.bodyParser)
server.use((req, res, next) => {
  if (req.method === 'POST') {
    req.body.createdAt = Date.now()
  }
  // Continue to JSON Server router
  next()
})

// Use default router
server.use(router)
server.listen(3001, () => {
  console.log('JSON Server is running')
})
서버로 사용할 server.js파일을 루트 경로에 추가해 준다.
3. db.json 추가
{
  "todos": [
    {
      "id": 1,
      "content": "HTML",
      "completed": true
    },
    {
      "id": 2,
      "content": "CSS",
      "completed": false
    },
    {
      "id": 3,
      "content": "Javascript",
      "completed": true
    }
  ],
  "users": [
    {
      "id": 1,
      "name": "bitna",
      "role": "developer"
    },
    {
      "id": 2,
      "name": "seongju",
      "role": "designer"
    }
  ]
}
DB로 사용할 db.json 파일을 루트 경로에 추가해준다.
4. 서버 실행
$ npm start
서버를 실행하고 http://localhost:3001경로에 들어가면 실행된 JSON Server를 확인할 수 있다. 이제 아래와 같은 REST API를 이용할 수 있다.
REST API
| 기능 | Method | Path |
|---|---|---|
| 목록조회 | GET | /todos |
| 추가 | POST | /todos |
| 삭제 | DELETE | /todos/:id |
| 수정 | PUT | /todos/:id |
REST API 요청 예시(Fetch API 사용)
GET(조회)
fetch("http://localhost:3001/todos",)
.then((response) => response.json())
.then((data) => {
    // code..
});
POST(추가)
fetch("http://localhost:3001/todos", {
    method: "POST",
    headers: {
        "Content-Type": "application/json",
    },
    body: JSON.stringify({
        "id": 5,
        "content": "React",
        "completed": true
    }),
})
.then((response) => response.json())
.then((data) => {
    // code..
});
DELETE(삭제)
fetch("http://localhost:3001/todos/1", {
    method: "DELETE"
});
PUT(수정)
fetch("http://localhost:3001/todos/2", {
    method: "PUT",
    headers: {
        "Content-Type": "application/json",
    },
    body: JSON.stringify({
        "id": 2,
        "content": "Linux",
        "completed": false
    }),
})
.then((response) => response.json())
.then((data) => {
    // code..
});
Vercel 배포하기
1. 배포하기 전에 추가 설정파일 만들기
배포하기 전에 몇가지 설정파일을 추가해 준다.
깃 이그노 추가
GitHub 저장소에 올리기전에 루트 경로에 꼭 .gitignore 파일을 추가하고 아래 리스트를 추가해 준다.
/node_modules
Vercel 설정 파일 추가
Vercel 배포 설정을 위해 루트 경로에 vercel.json 파일을 추가하고 아래 내용을 넣어준다.
{
  "version": 2,
  "builds": [
    {
      "src": "server.js",
      "use": "@vercel/node",
      "config": {
        "includeFiles": ["db.json"]
      }
    }
  ],
  "routes": [
    {
      "src": "/(.*)",
      "dest": "server.js"
    }
  ]
}
2. GitHub 저장소에 올리기
GitHub 저장소에 새로운 저장소를 만든 뒤 프로젝트를 올려준다.(GitHub에 프로젝트를 올리는 설명은 생략한다.)
3. 회원 가입
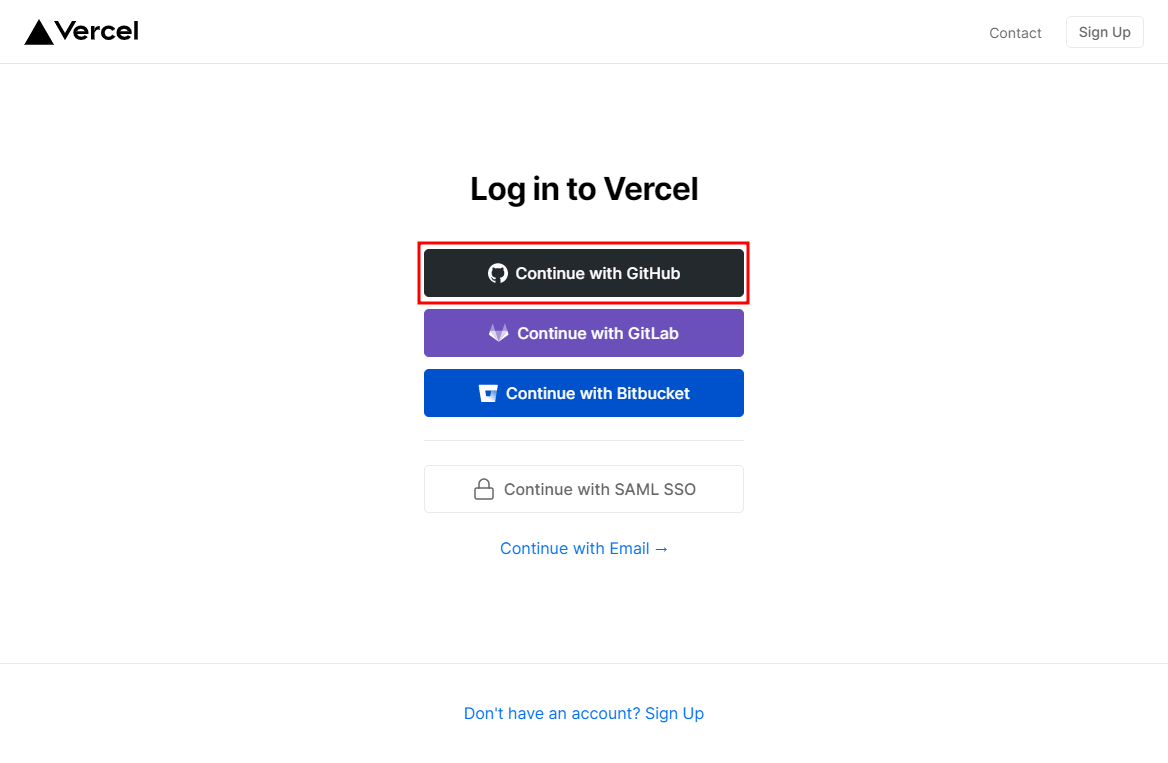 Vercel 공식 홈페이지(https://vercel.com)에서 회원가입을 한다. GitHub 계정으로 로그인 해준다.
4. 새로운 프로젝트 추가하기
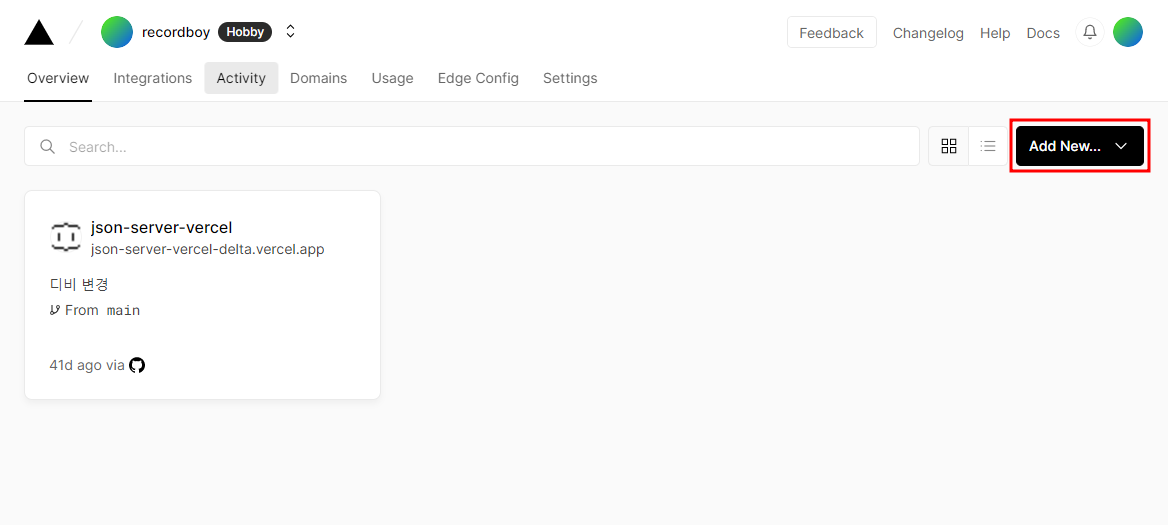
Add New » Project 버튼을 클릭한다.
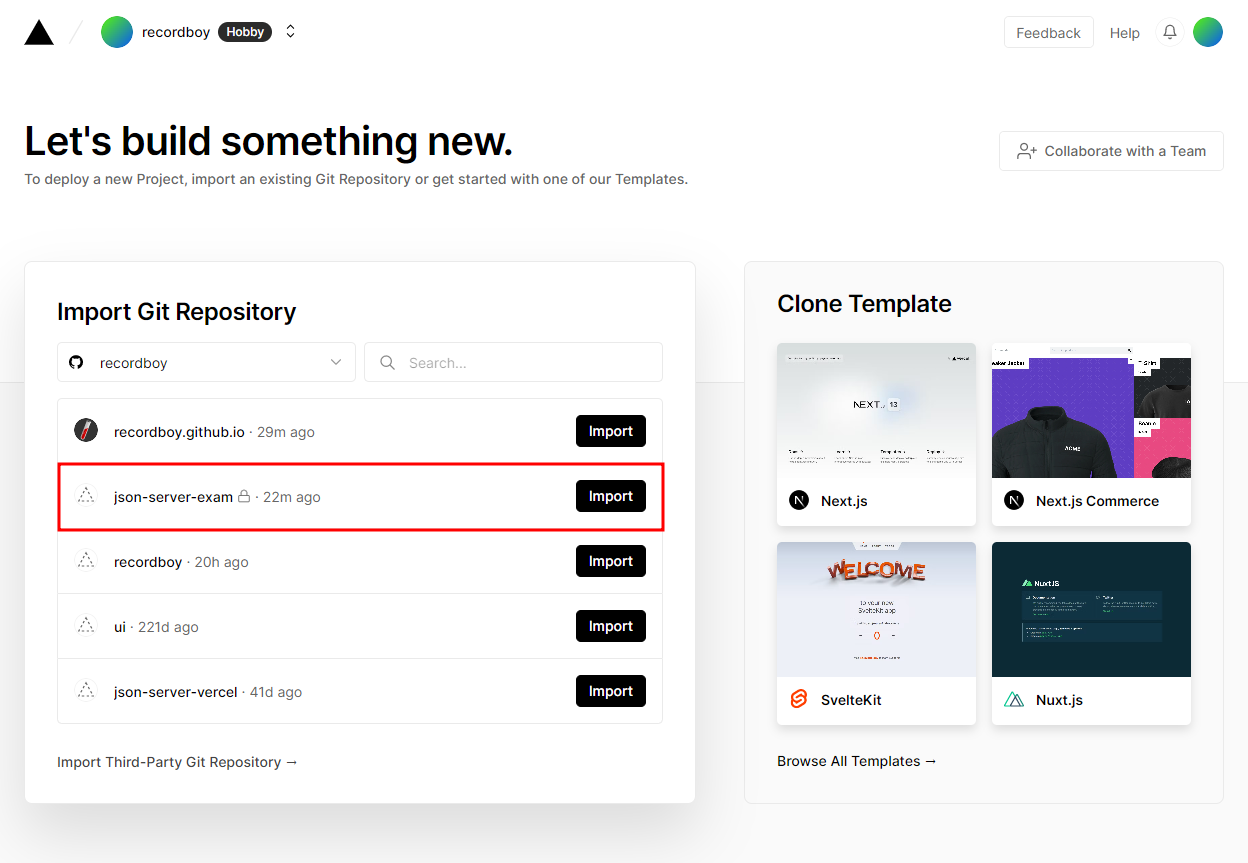 추가했던 프로젝트(저장소)를
 import 한다.
5. 옵션 설정 및 배포하기
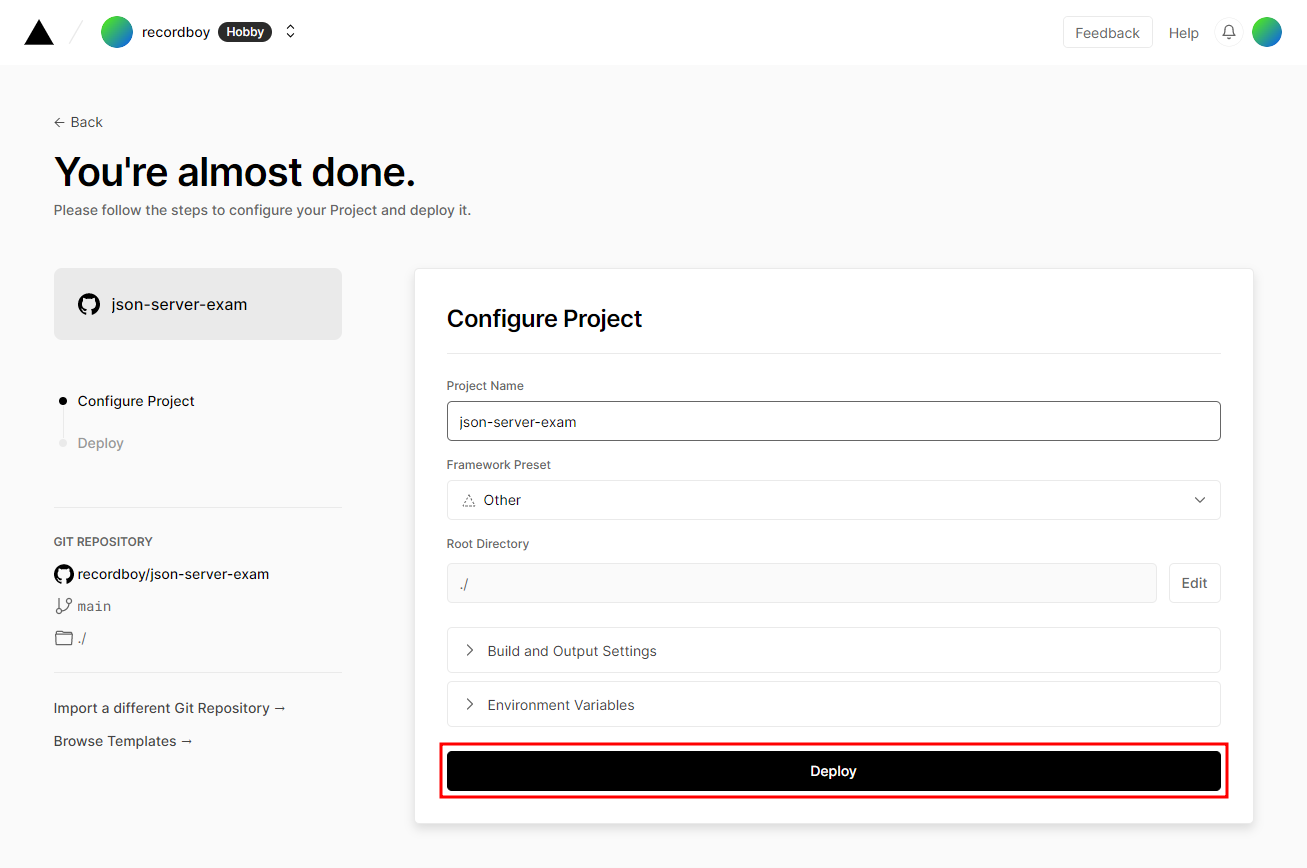
Build and Output Settings 메뉴에서 빌드 및 배포 설정을 할 수 있다. 여기서는 따로 vercel.json 파일을 추가했으니 설정은 건너 뛰고 바로 배포(Deploy) 버튼을 클릭한다.
6. 배포 완료
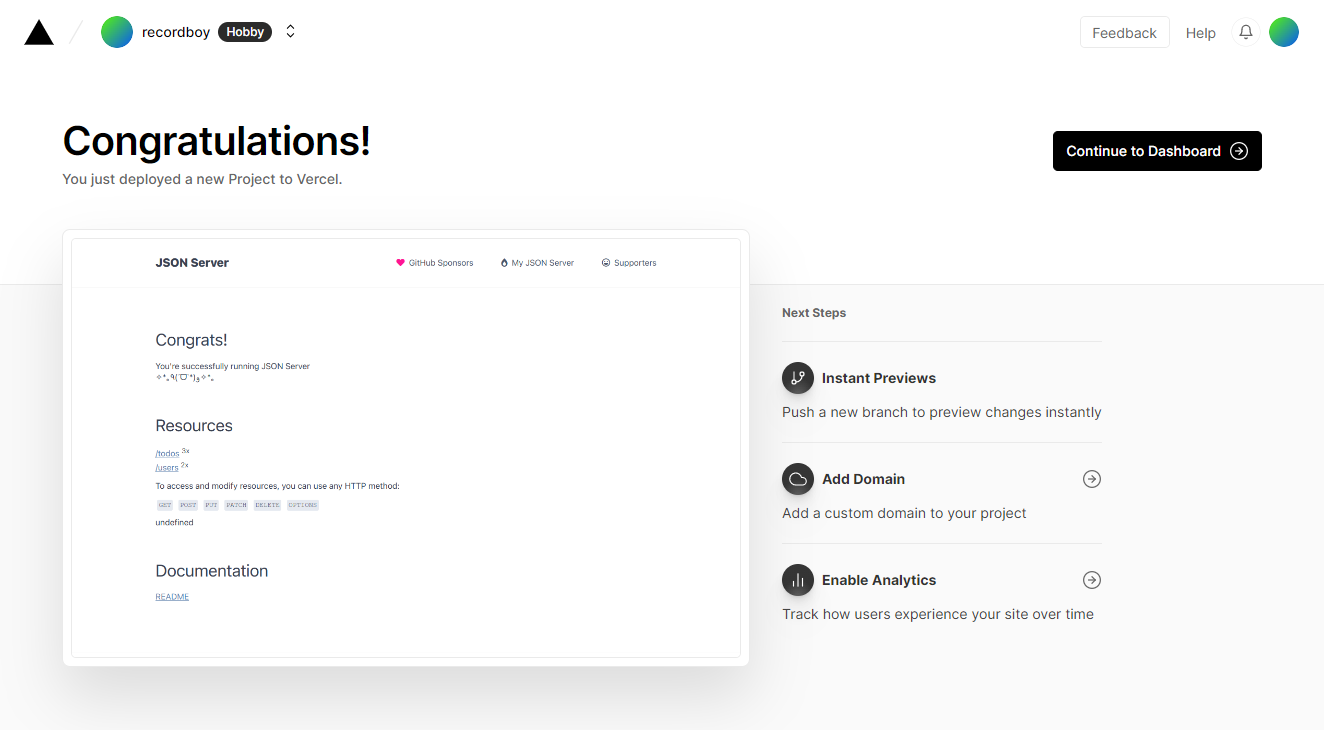 배포가 잘 되었다면 위처럼 화면을 확인할 수 있다.
References
JSON Server
How to deploy an Express API to Vercel
14.3 JSON Server
30초 안에 RESTful API서버 만들기